Wowza Streaming Engine 4.8.23+2 / Java OpenJDK 11.0.19
This tutorial is pretty much the same as the OpenJDK 17 installation. The only difference is the Java version.
In Part 1 of the series i showed you how to install Wowza StreamingEngine with OpenJDK 17. This tutorial shows the same thing with the only difference that we are installing OpenJDK 11.0.19. A im currently running this Java version in a production environment without issues. But it is up to you if you want to run this or use the version that is officially supported by Wowza (which is 11.0.2 custom package).
What will we do in this tutorial
- Part 1.1: Setup a clean Wowza StreamingEngine server with OpenJDK 11.0.19 and CSF (firewall)
What hardware do you need?
For testing purposes i intend to keep it simple. There is no need of space for VOD’s, so i keep the disksize very small.
For testing i usually end up by installing a VM with 1CPU, 1vcore, 20GB of harddisk and 4 GB of RAM.
Preparation
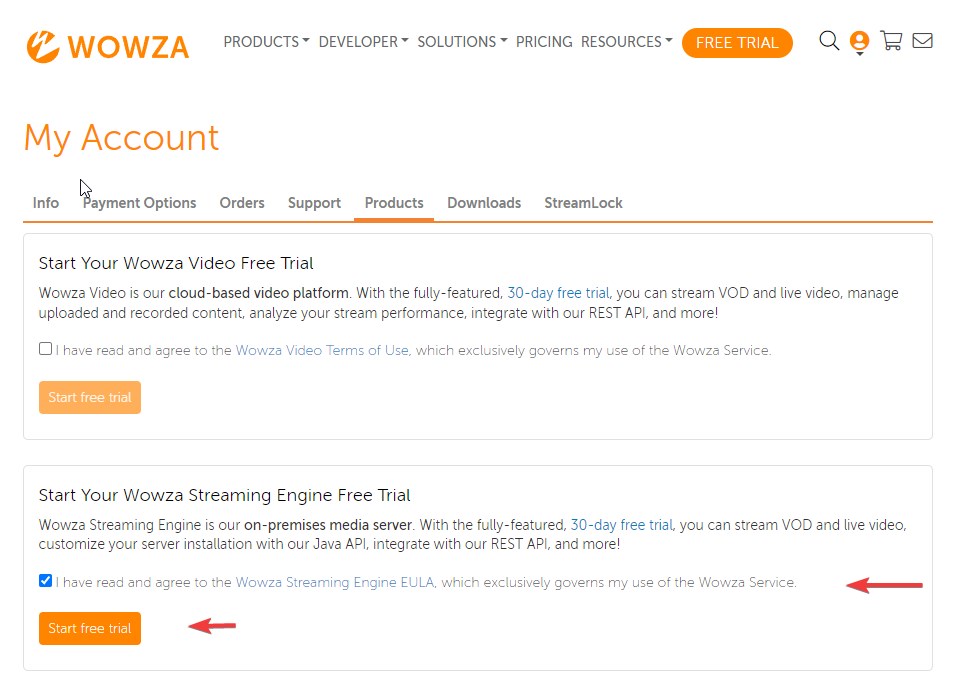
In order to follow part 1 of this tutorial all you need is a (free) developer license which you can create for free when you register for a Wowza account at: https://portal.wowza.com
In case you have a perpetual license you are free to use that one. That is up to you.
After the installation there is the possibility to configure your server for SSL optimization. This is not included in this tutorial, but i advise to read this post: Wowza – How to improve SSL configuration
Step 1: Install a clean Ubuntu Server
Setup a clean Ubuntu Server (22.04 LTS) with the basic settings and SSH server enabled. That’s it. In case you want to change the SSH port you can do that. The installer script will detect your current SSH port and will add it to the firewall.
Make sure your server is up to date with the latest updates and upgrades installed.
Step 2: The Wowza installer script
You can find the installer scripts on my Github NLMaca page.
For this tutorial we will use this script https://github.com/nlmaca/Wowza_Installers/blob/master/Ubuntu/01_InstallStreamingEngine_Java11.sh
Step 3: Start the installation
In this step i will guide you through the installation. Most things are automatically done in the installation script
Step 4: Open a SSH session
Download the installer script and make sure to get the raw contents on the github page
# normal user
~$ cd ~
~$ wget https://raw.githubusercontent.com/nlmaca/Wowza_Installers/master/Ubuntu/01_InstallStreamingEngine_Java11.sh
~$ sudo bash 01_InstallStreamingEngine_Java11.sh
Within the runtime of the script you wil get some popups about restarting some services. Just skip that by clicking on tab and enter.
Step 5: Wowza setup agreement
As soon as you see a message like this you have to hit the enter key over 50 times to get to the license key.

The other method is to just hold the enter key untill you see the question appear.
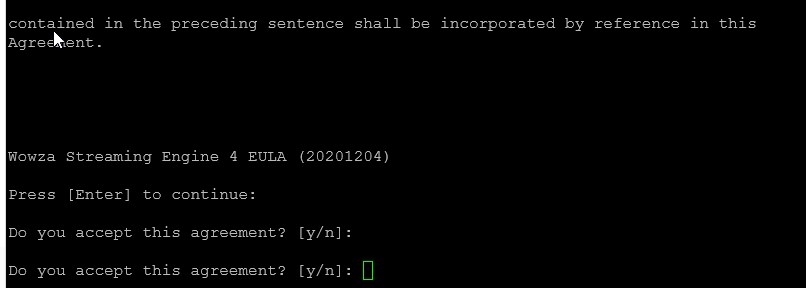
Confirm the question with: Y
Step 6: Enter License key
Enter your (free/paid) license key (paste with rightclick in your ssh terminal)

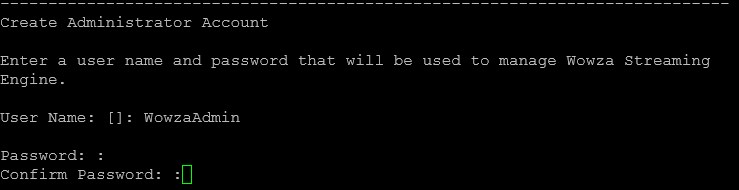
Step 7: Set username and password
Now it is time to setup a username and password. Create one to your likings
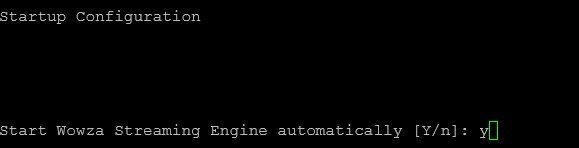
Step 7: Enable automatic starting of services
Enable the starting of Wowza Services after a reboot: Y
Step 8: Confirm start of installation
The installation of wowza will now start. Confirm the question

Sit back and relax. All components will be installed and you will be informed in the installation prompt. Java and CSF will automaticly be installed.
Notifications during installation
In case you run into this screen just hit enter to confirm
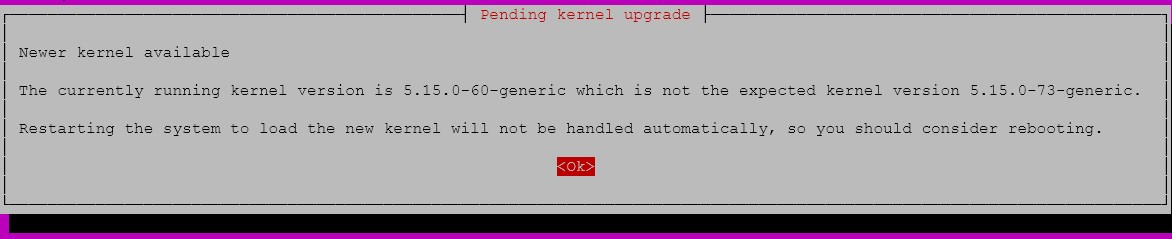
And also for this popup. Hit Tab followed by enter to continue. We will restart the server at the end of the installation.
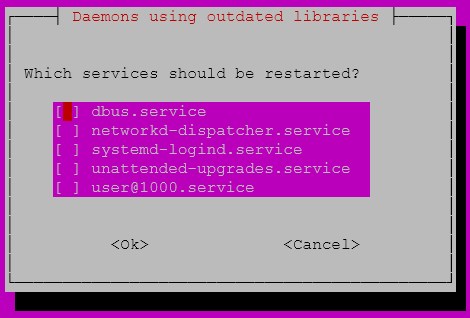
The installer will continue. It can happen that you will see the popup several times.
Step 9: Installation Complete
When the installation is done, the installer will show you the url which you can open in your browser to navigate to the EngineManager.

We are almost done.
Checks
First restart your server.
After the reboot login to the url of the EngineManager. http://<your-server-ipaddress>:8088/EngineManager
Confirm:
- You can login with the credentials you have set in step 7
- Check if OpenJDK 11.0.19 is enabled in Wowza by navigating to Server > About.
Installation finished
You have succesfully setup a Wowza Streaming Engine server with OpenJDK 11.0.19
In case you have any questions or feedback, feel free to comment. In case if things don’t work, please be specific.
Feel free to take a look at the other tutorials in this series: https://vanmarion.nl/blog/blog/updates-wowza-streaming-engine-tutorials/


[…] Part 1.1: Wowza Streaming Engine 4.8.23+2 / Java OpenJDK 11.0.19 […]